
GroupScoop – Quick Start Guide
From first sign‑up to your first matches in under 10 minutes.
Contents
- 1) Create your account
- 2) Install the Chrome extension (manual ZIP)
- 3) Add your first Facebook Group
- 4) Add one or more keywords
- 5) Run a manual scan or schedule background scans
- 6) Review matches & use pipeline actions
- 7) Create response templates
- 8) Choose a plan (after your trial)
- FAQ & Troubleshooting
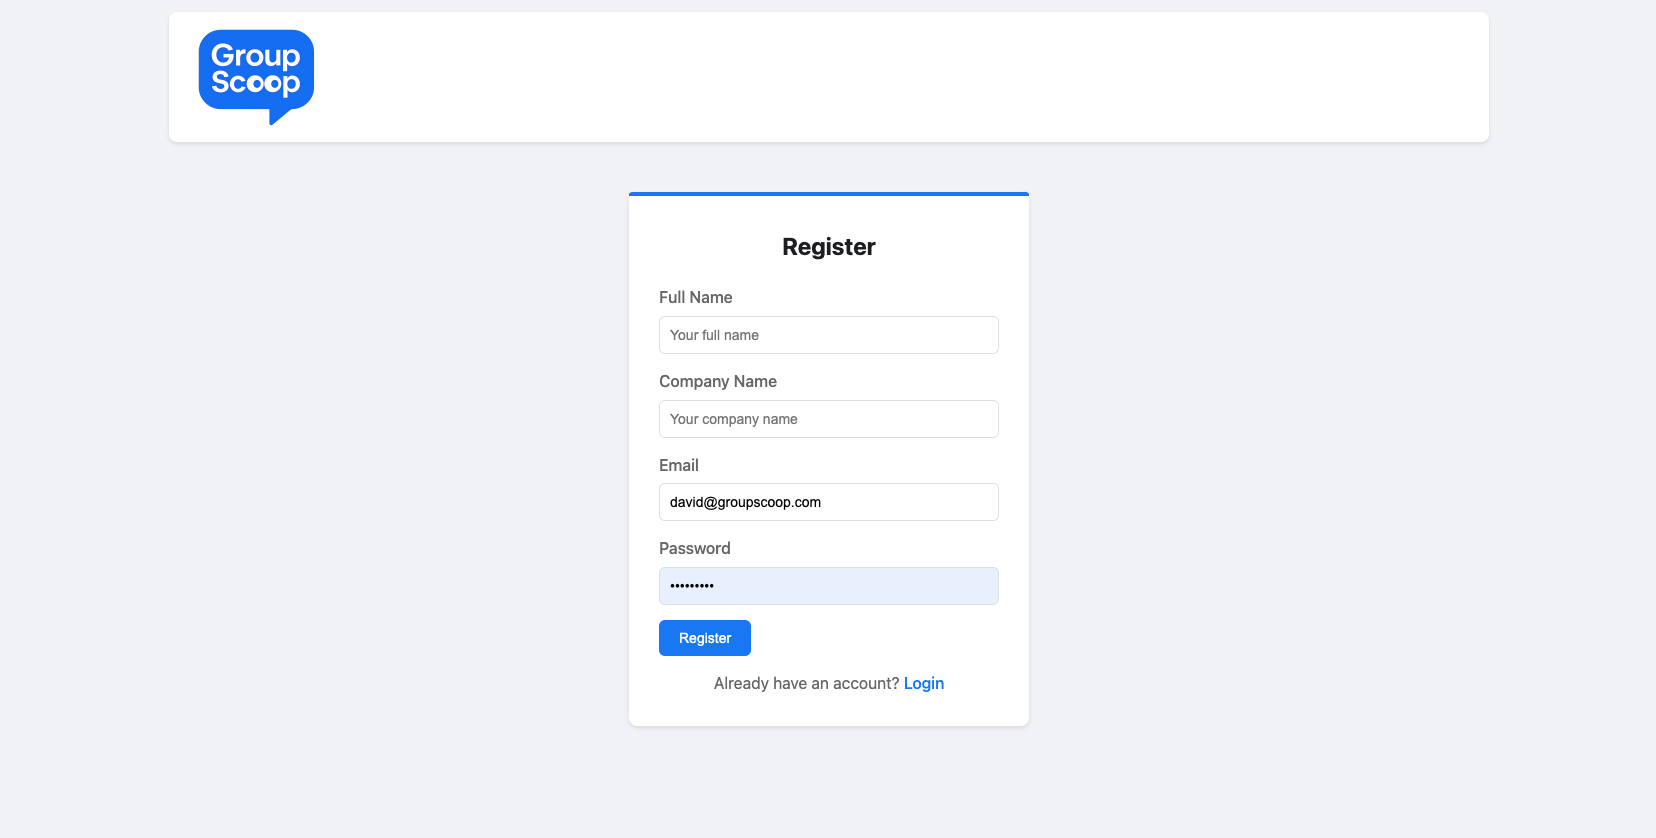
1) Create your account
- Go to
https://groupscoop.aiand click Register. - Enter your Full Name, Company Name, Email, and Password, then click Register.
- You'll land in your dashboard once you’re signed in.
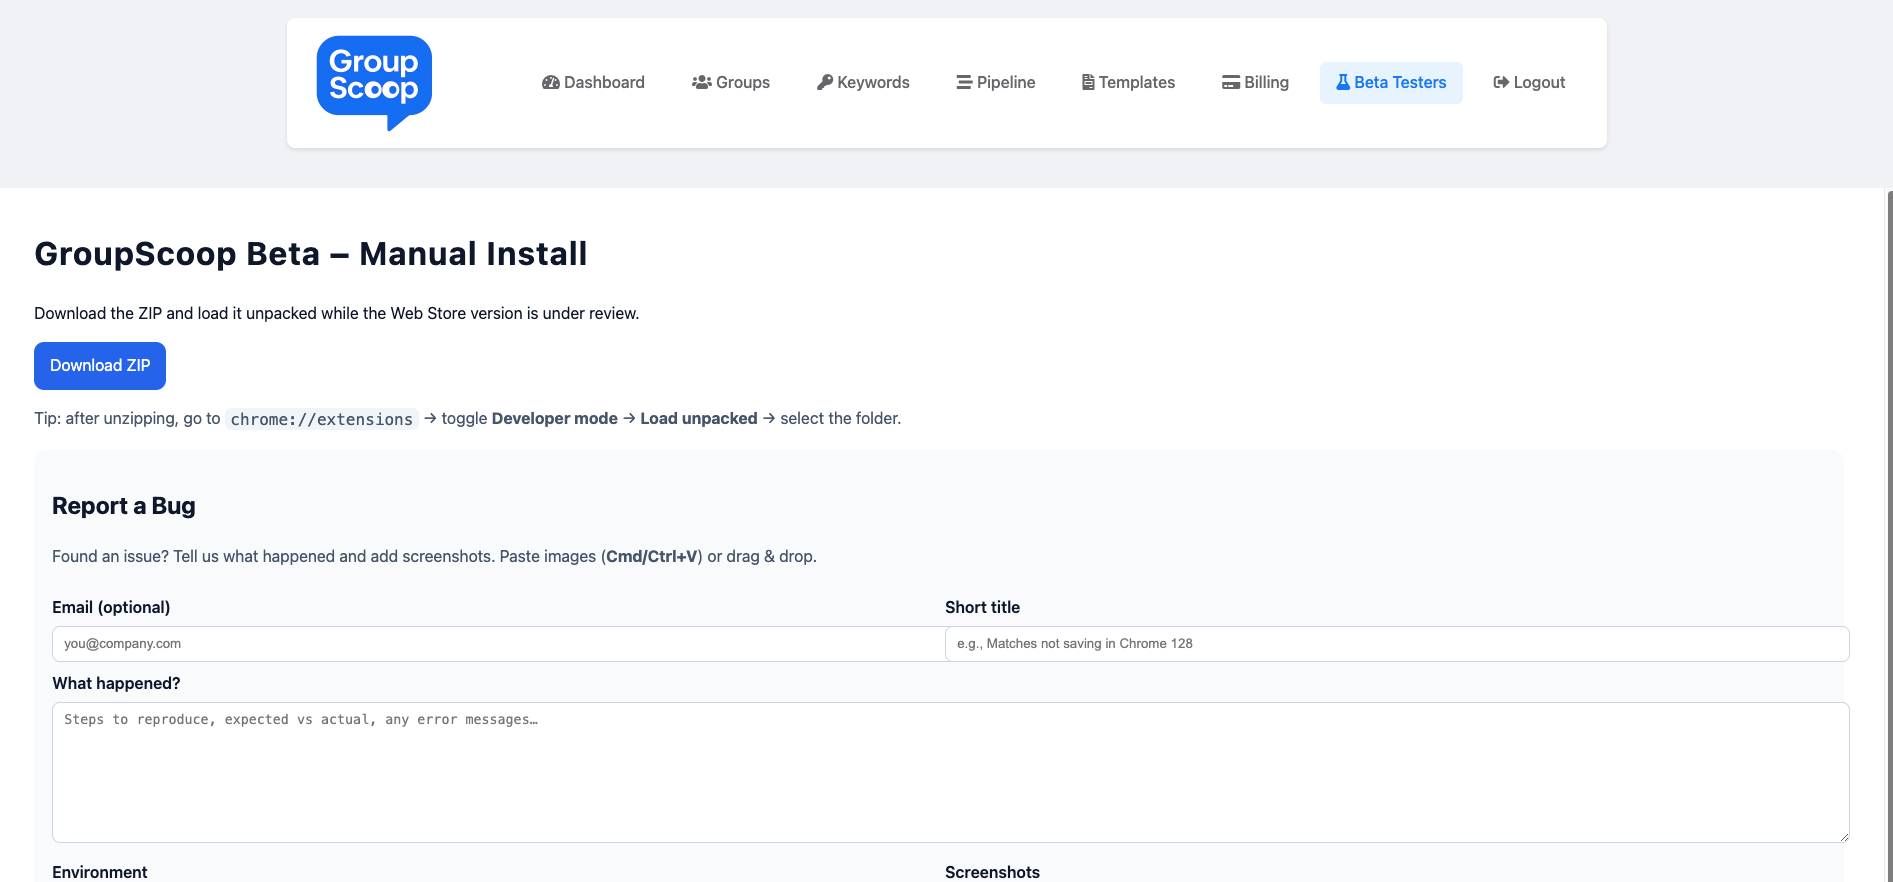
2) Install the Chrome extension (manual ZIP)
Note: While the Web Store version is in review, install the extension from the ZIP.
- Open the Beta Testers page in the app (top nav) and click Download ZIP.
- Unzip the file somewhere easy to find (e.g., your Desktop).
- In Chrome, open
chrome://extensions. - Enable Developer mode (top‑right).
- Click Load unpacked and select the folder you unzipped.
- Make sure you stay logged into groupscoop.ai in a tab. The extension uses your account session.
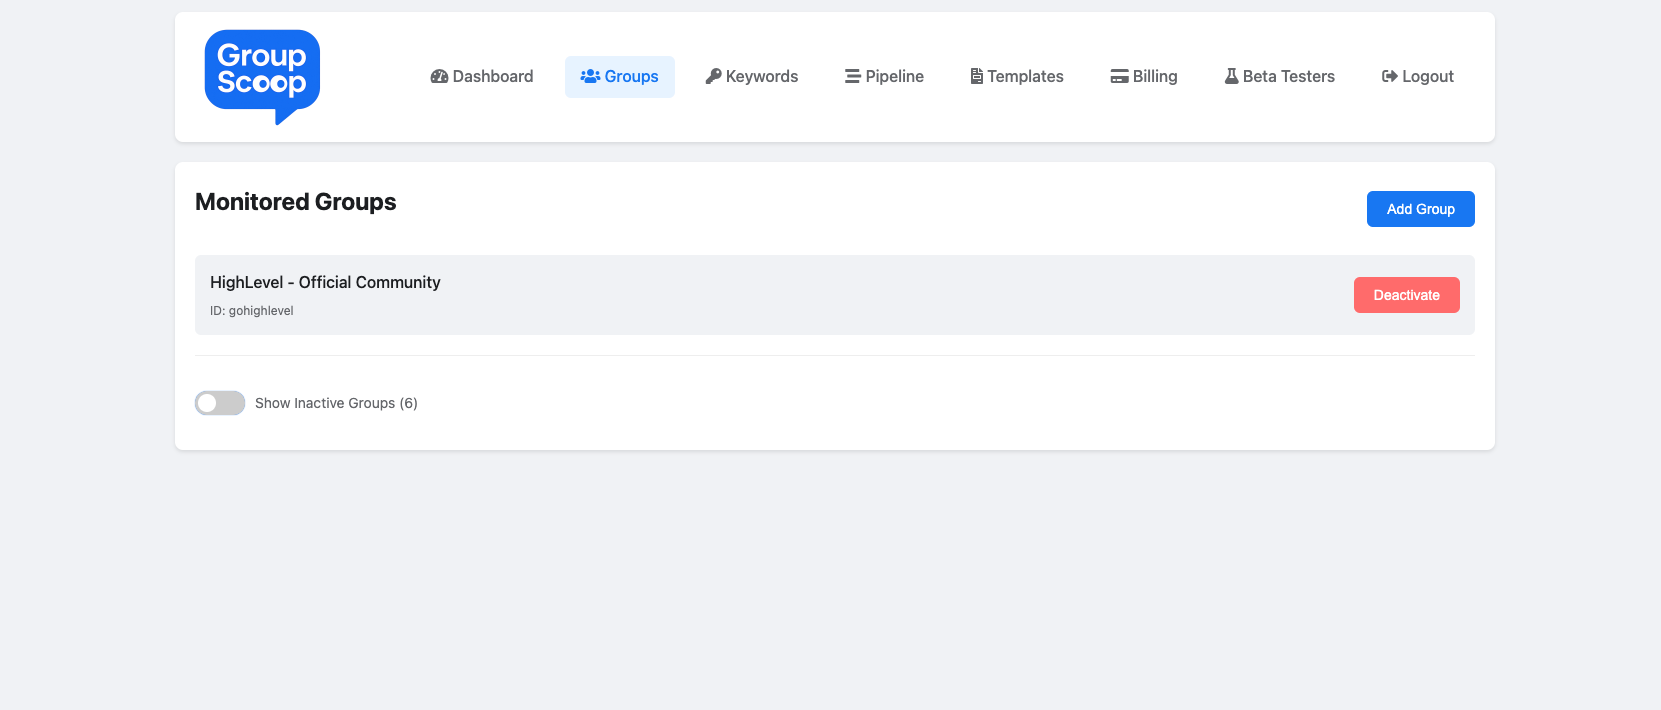
3) Add your first Facebook Group
- Go to Groups in the top navigation.
- Click Add Group and enter the group’s name or ID, then save.
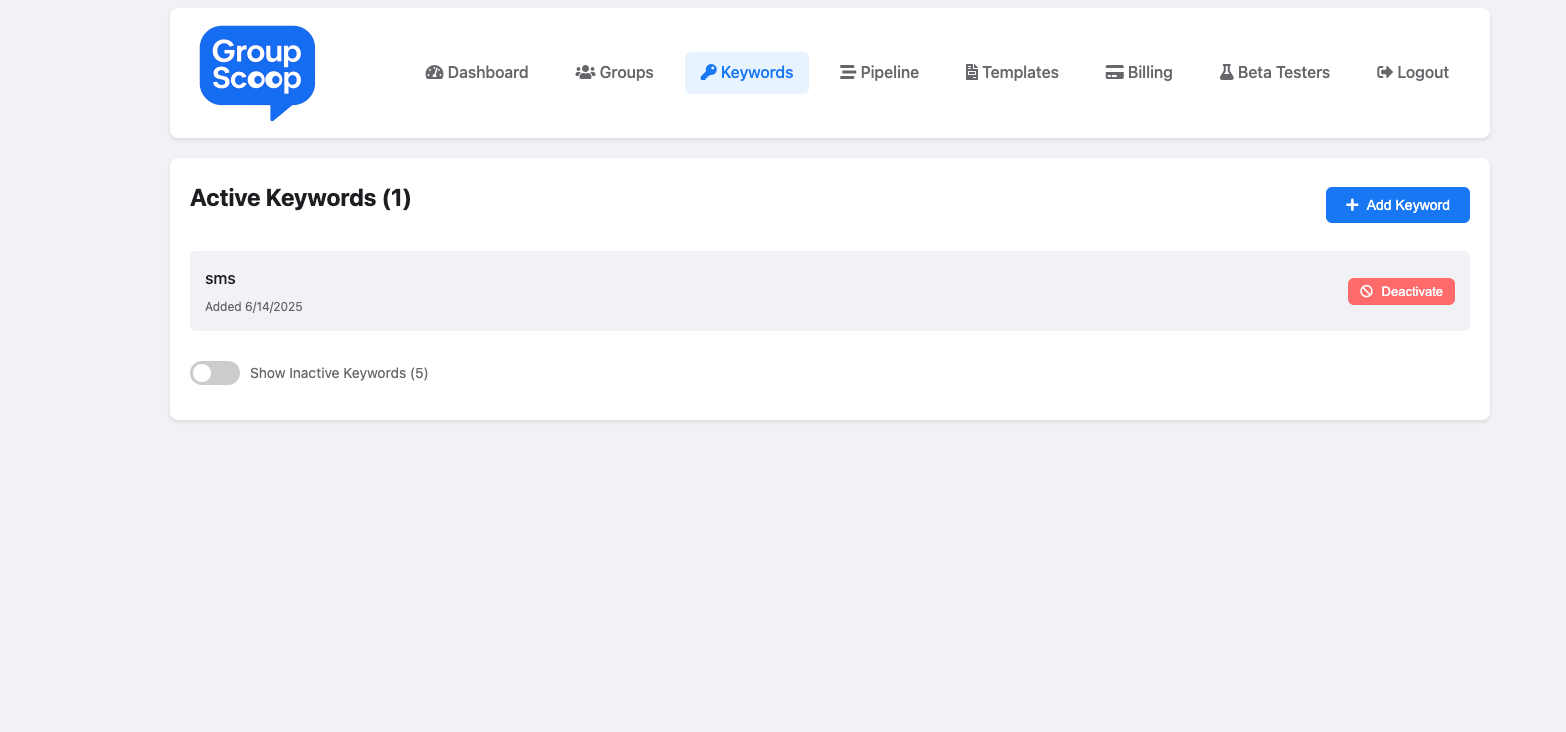
4) Add one or more keywords
- Go to Keywords.
- Click Add Keyword, type a word or phrase (e.g., sms, a2p, zapier), and save.
- You can Deactivate a keyword at any time without deleting it.
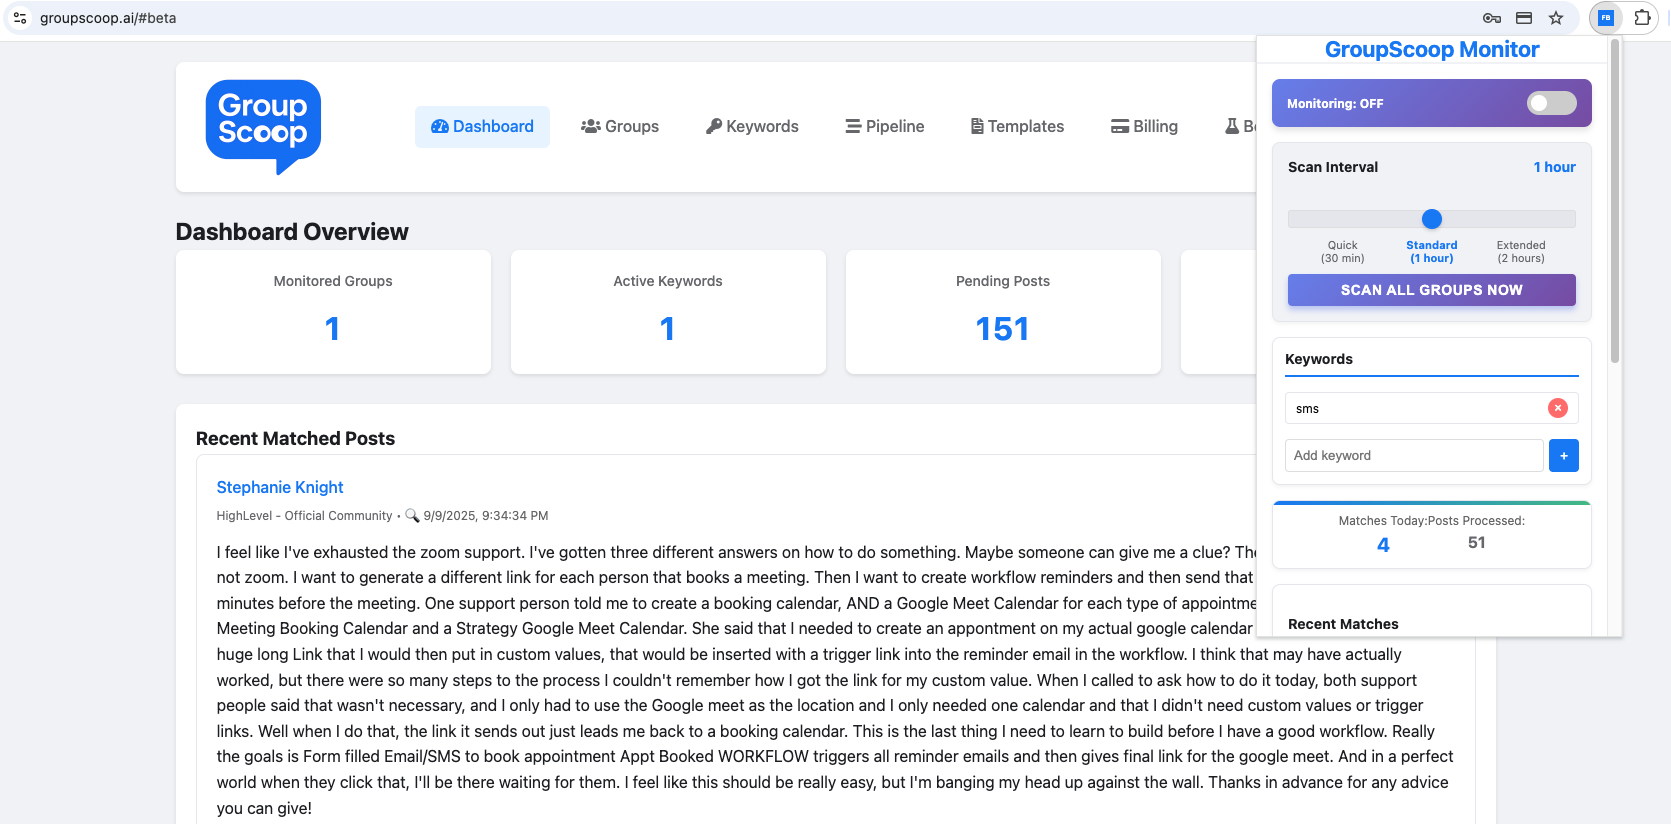
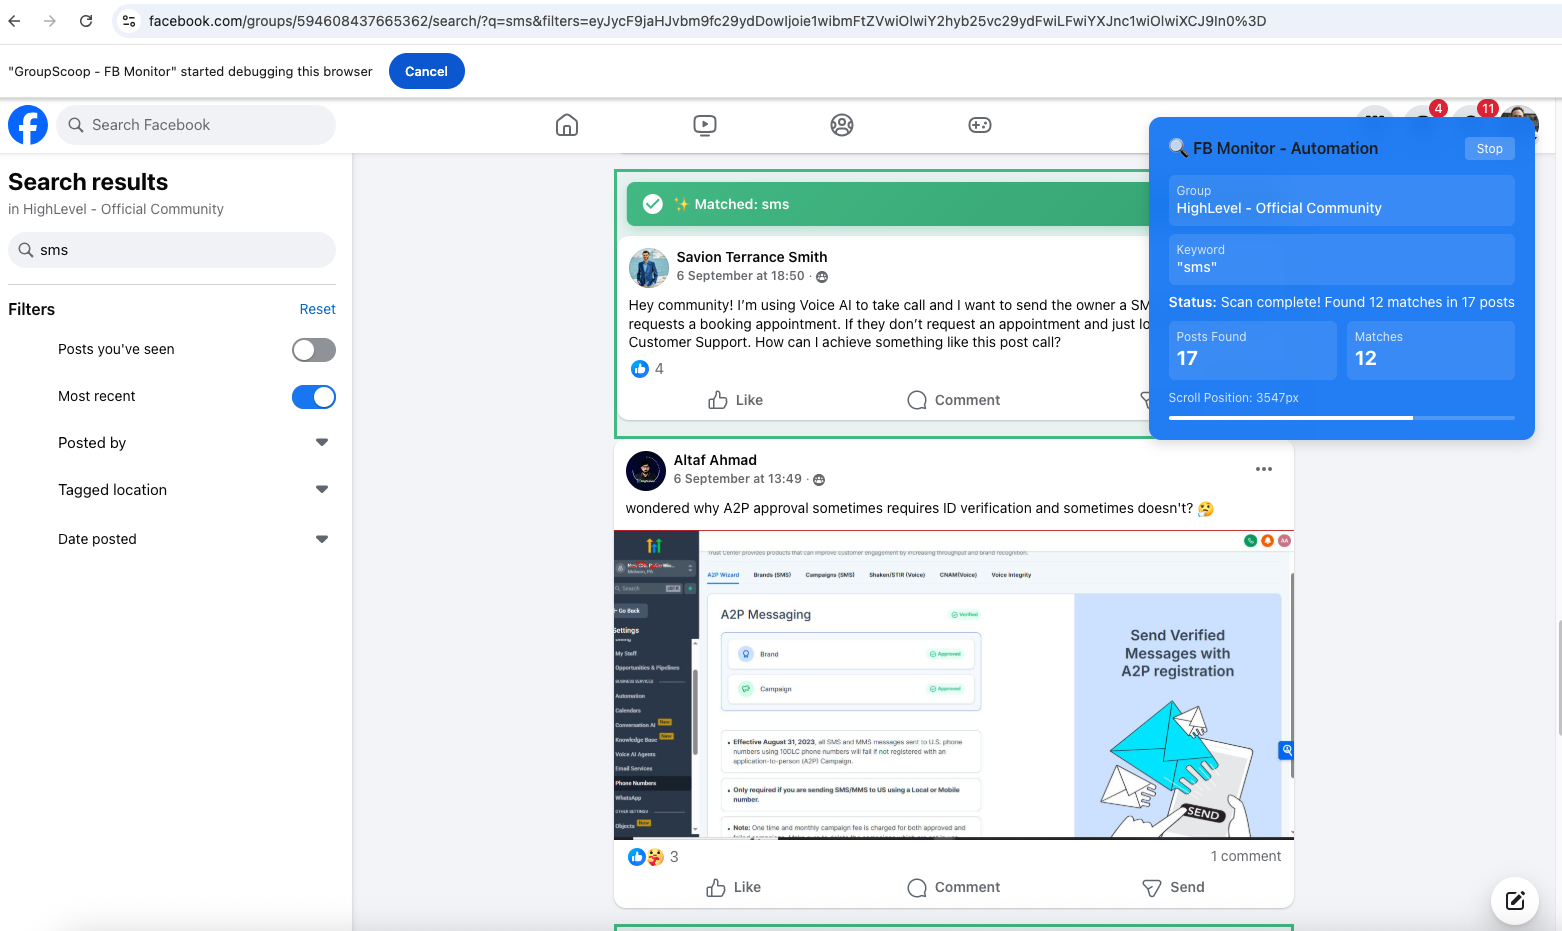
5) Run a manual scan or schedule background scans
- Manual: In the extension panel, click SCAN ALL GROUPS NOW. You can also press Scan Now on the Groups page for a single group.
- Scheduled: In the extension panel, flip Monitoring to ON and choose a Scan Interval (e.g., 30 minutes, 1 hour, or 2 hours). Keep Chrome running and signed in.
- During a scan, the extension opens Facebook group search in a controlled tab and scrolls to find posts that match your keywords.
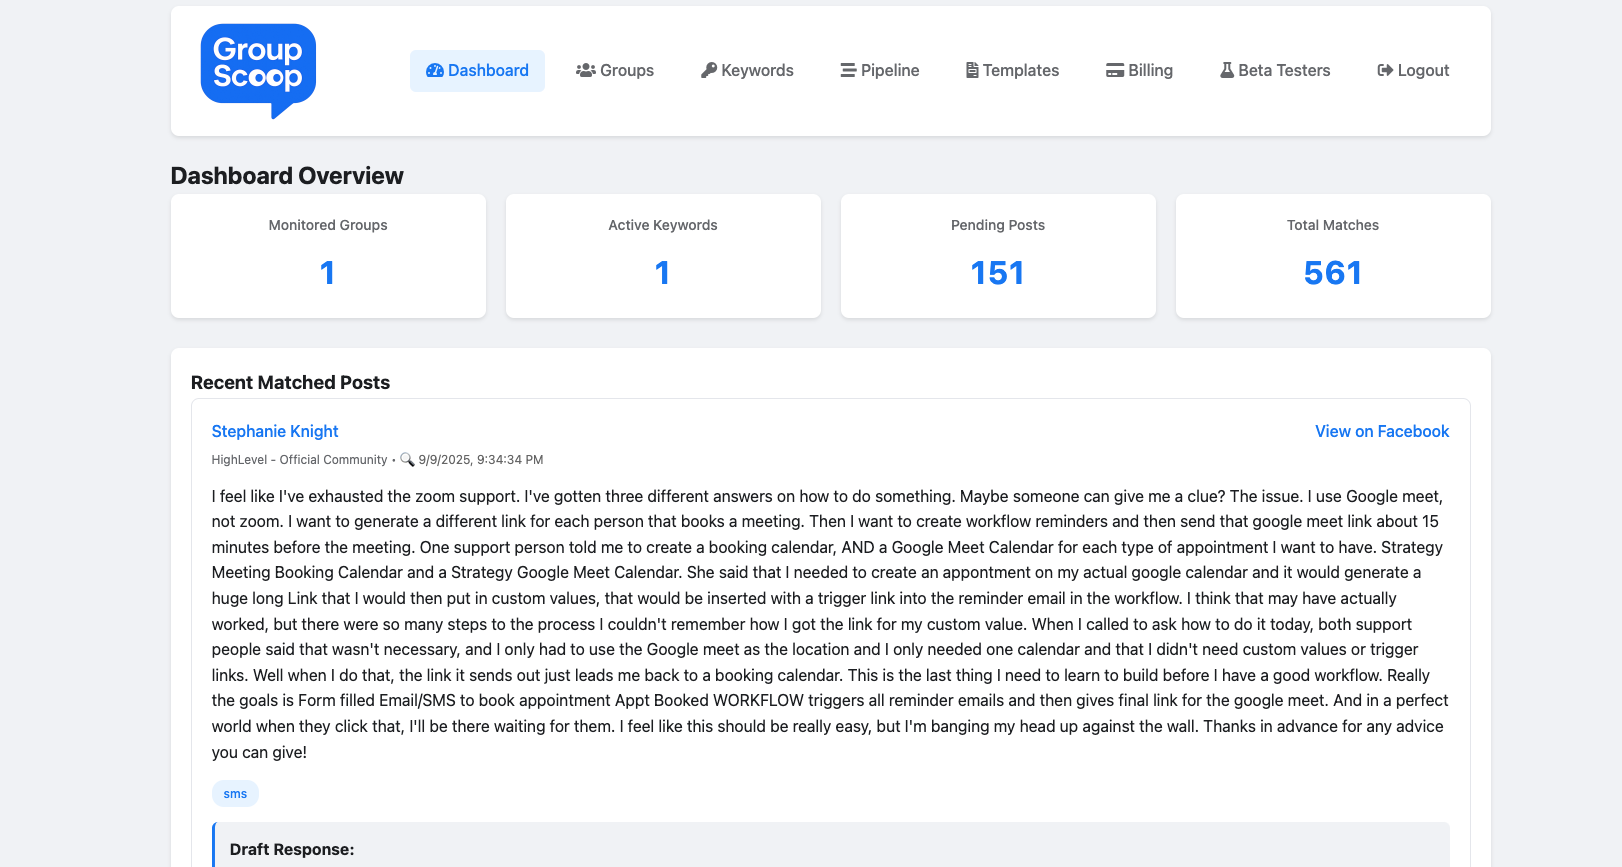
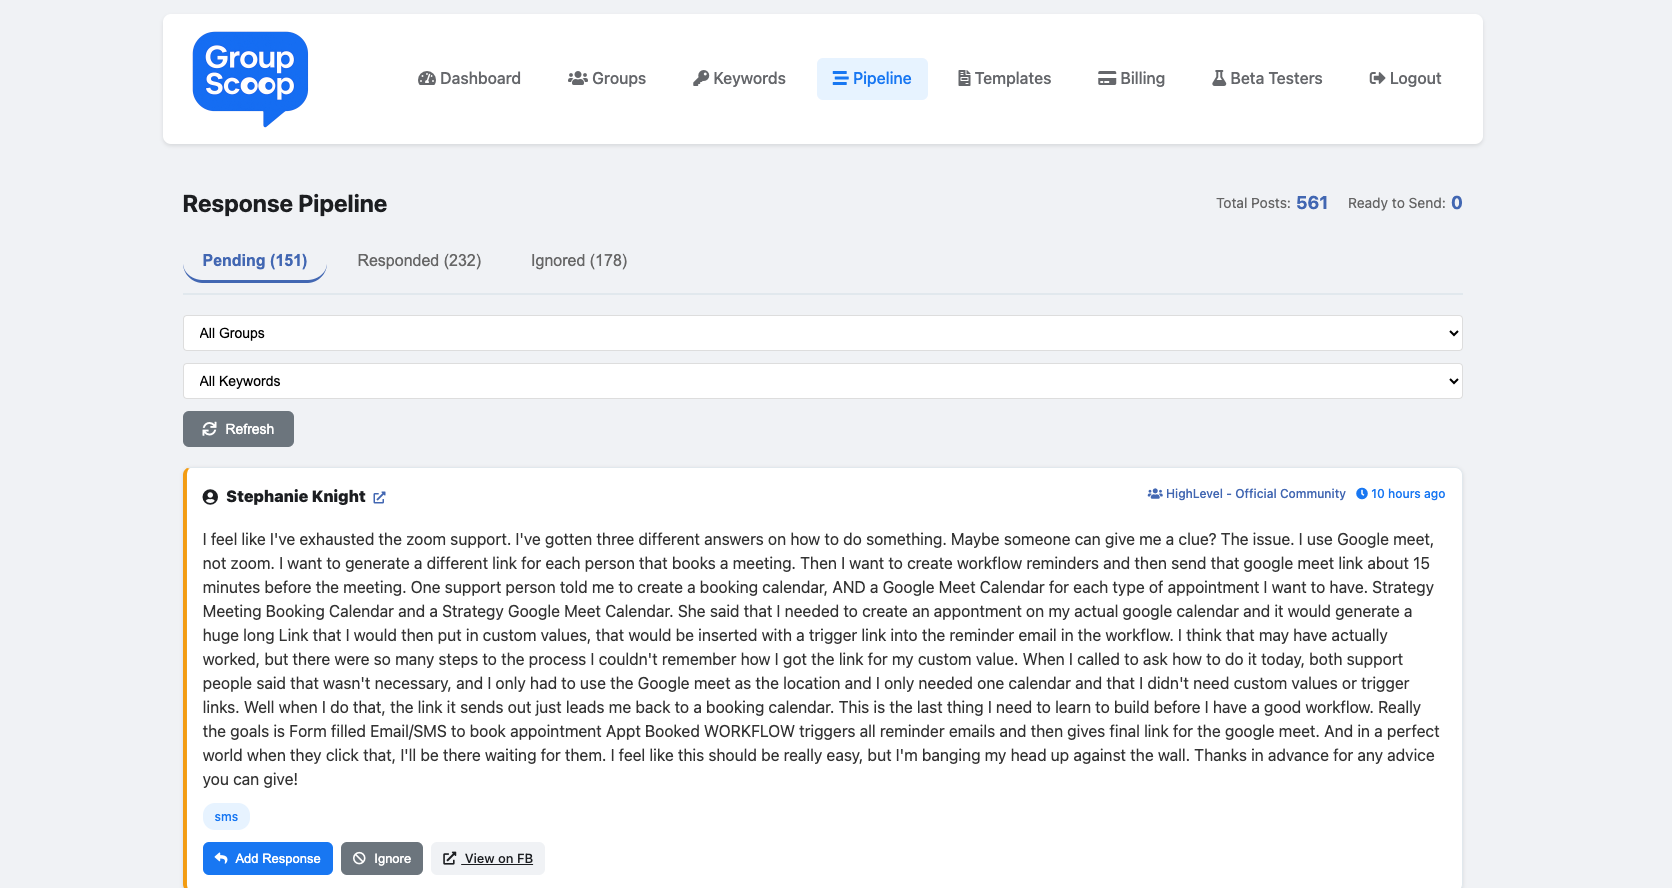
6) Review matches & use pipeline actions
- Open Pipeline to see Pending, Responded, and Ignored tabs.
- Each card shows the post text, the group name, and quick actions:
- Add Response – insert or customize a reply using your templates.
- Ignore – remove from the pending list.
- View on FB – jump to the original post.
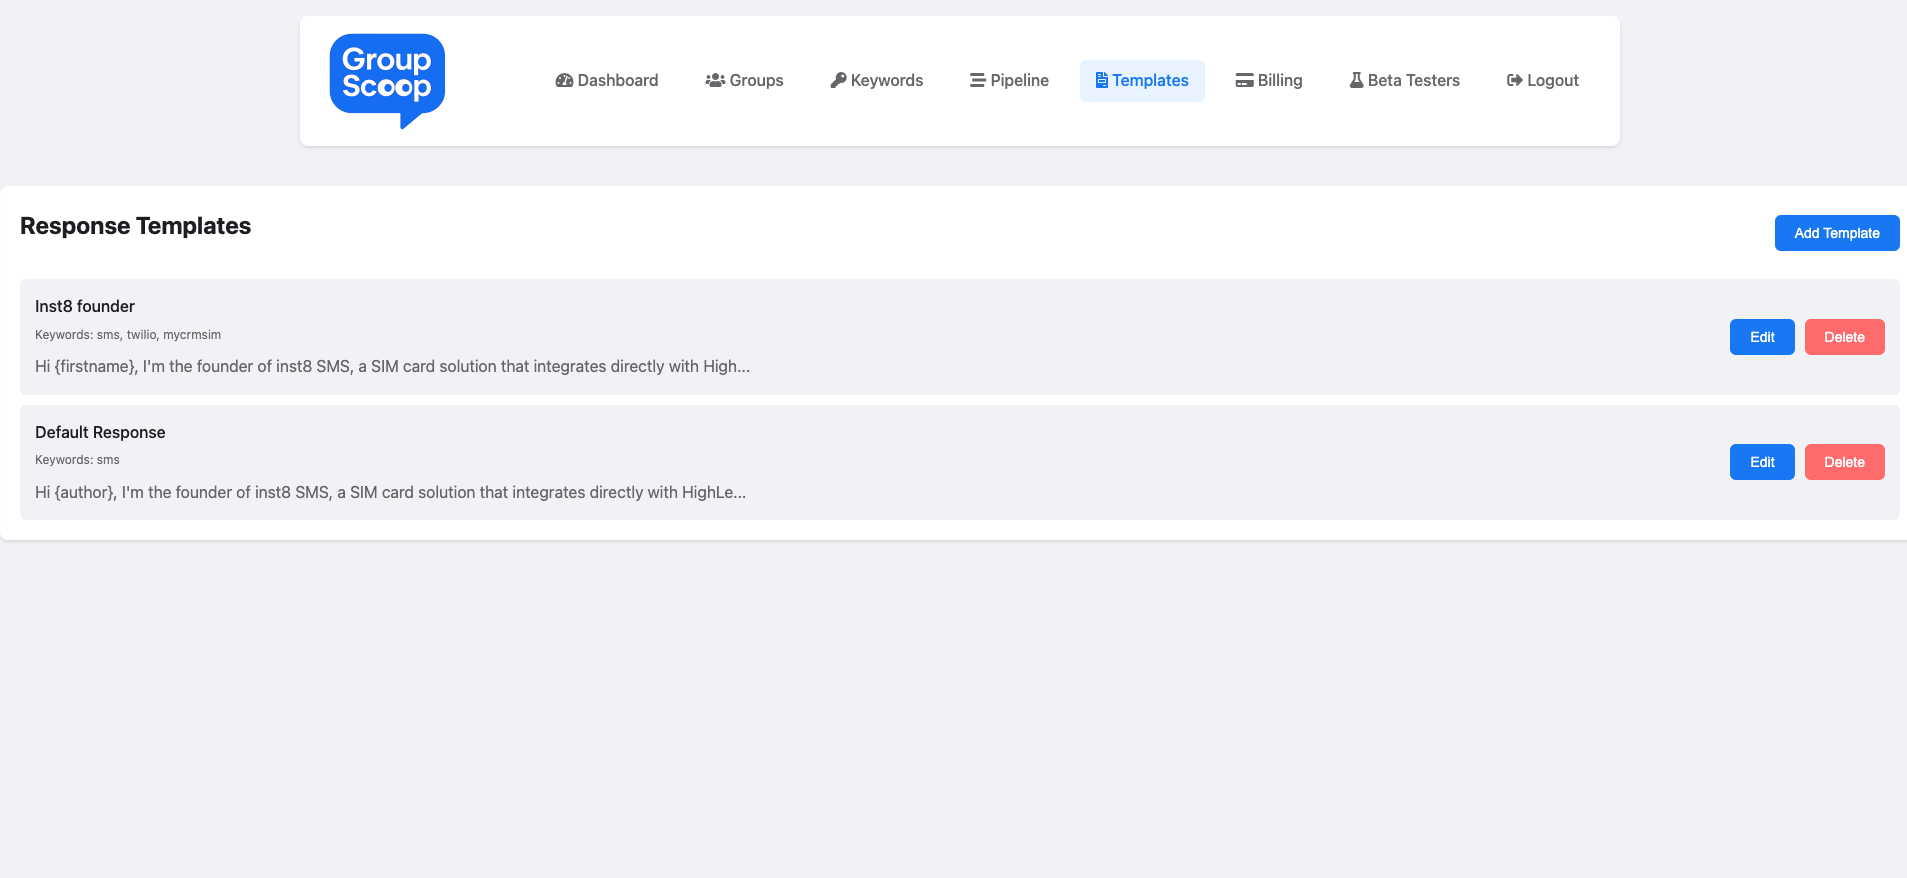
7) Create response templates
- Open Templates and click Add Template.
- Give it a name, associate optional keywords, and write your message. You can use variables like
{firstname}or{author}where applicable. - From the Pipeline, choose Add Response on a post to use a template as a starting point.
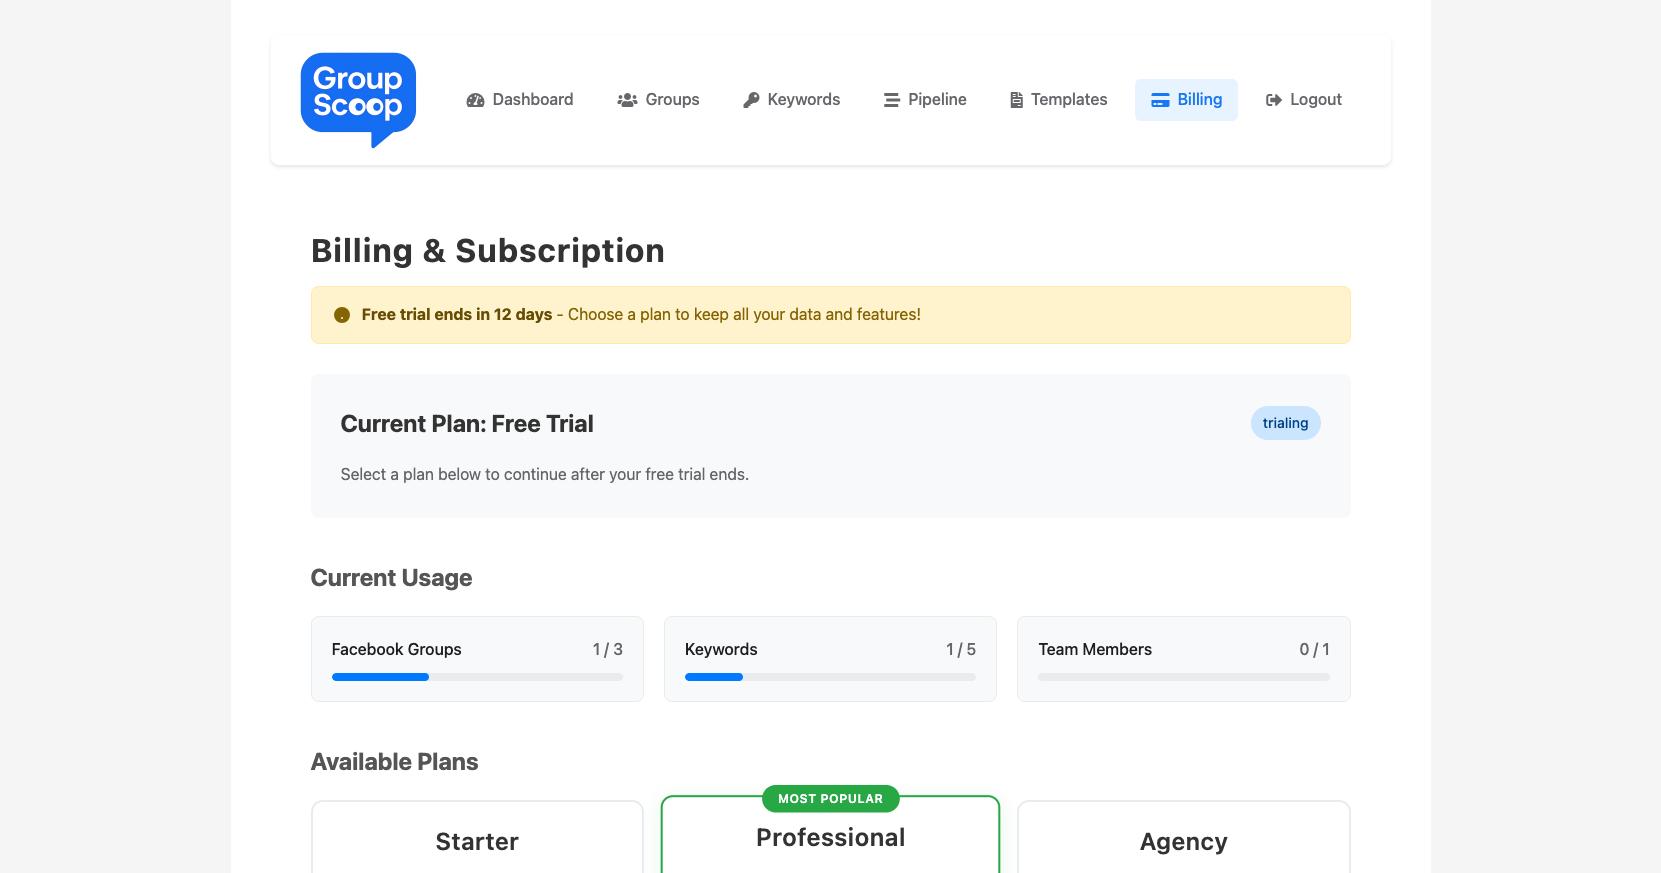
8) Choose a plan (after your trial)
- Go to Billing any time to review your trial, usage bars, and available plans.
- Select a plan to unlock more groups, keywords, and team seats.
FAQ & Troubleshooting
- I don’t see any matches yet. Make sure you’ve added at least one Group and one Keyword, and run a manual scan from the extension.
- Manual install fails. Ensure the folder you select in
Load unpackedis the unzipped extension directory (not the ZIP itself). - Monitoring stops when I close Chrome. Background scans require Chrome to be open and you to be signed into
groupscoop.ai. - “View on FB” opens but can’t find the post. The post may have been removed or your FB permissions for the group changed. Try refreshing and confirm you can access the group.